Create your administrator account
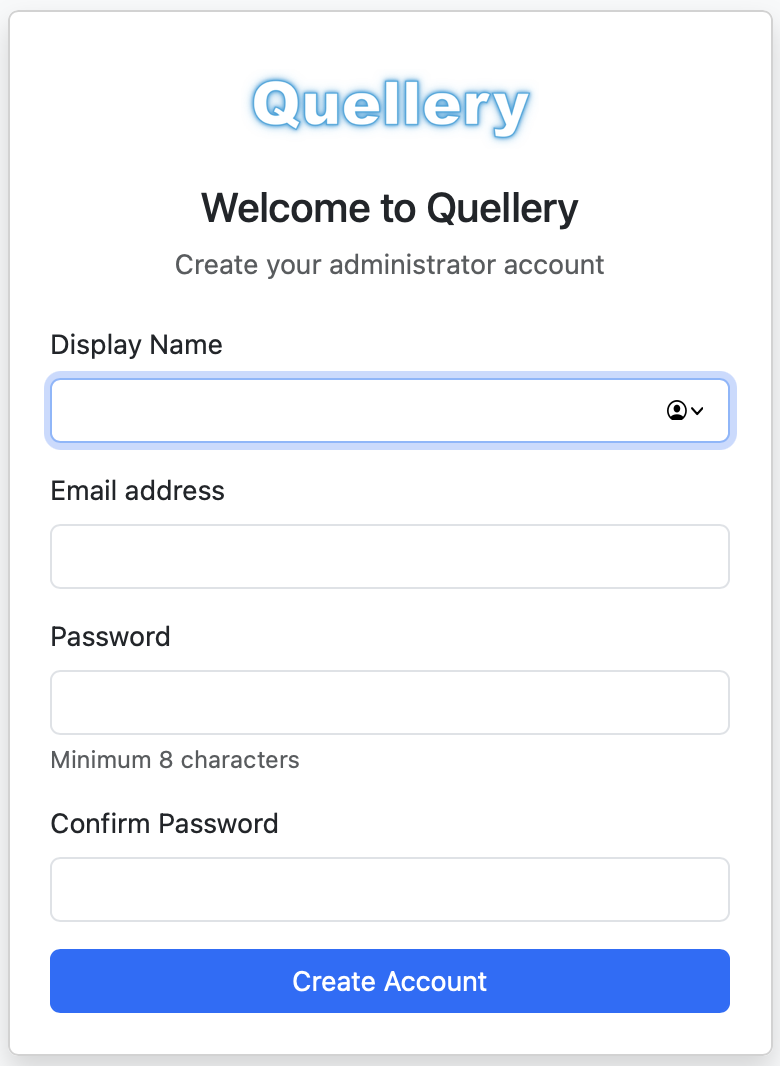
On first launch you'll see a welcome screen. Enter a display name, email address, and password (minimum 8 characters). This becomes the first administrator account — more users can be added later.
All you need is Docker. Quellery runs as a single container using either SQLite (zero-config, file-based) or PostgreSQL (shared-server deployments) for its own persistence. The example below uses SQLite — see Configuration to switch to PostgreSQL.
Save this docker-compose.yml to an empty directory, or download it directly.
services:
  quellery:
    image: lancewalton/quellery:latest
    ports:
      - "8080:8080"
    volumes:
      - ./quellery-data:/data
    environment:
      - DATABASE_URL=jdbc:sqlite:/data/quellery.sqlite
      - ENCRYPTION_KEY=change-me-to-a-secure-key
      - SESSION_SECRET=change-me-to-a-session-secret
Replace ENCRYPTION_KEY and SESSION_SECRET with your own random strings. ENCRYPTION_KEY is used to encrypt stored database credentials with AES-256-GCM; SESSION_SECRET signs session tokens. (Quellery user account passwords are separately hashed with bcrypt and do not use either value.)
If you prefer not to use Docker, you can download the fat JAR and run Quellery directly with Java. Like Docker, you can use either SQLite or PostgreSQL — the example below uses SQLite.
Java 21 or later. Check with java -version.
DATABASE_URL=jdbc:sqlite:./quellery.sqlite \
ENCRYPTION_KEY=change-me-to-a-secure-key \
SESSION_SECRET=change-me-to-a-session-secret \
java -jar quellery.jar
Then open http://localhost:8080 in your browser.
DATABASE_URL is the JDBC URL for Quellery's own database. Use jdbc:sqlite:<path> for SQLite or jdbc:postgresql://host:port/dbname for PostgreSQL.
| Variable | Required | Default | Description |
|---|---|---|---|
DATABASE_URL | Yes | — | JDBC URL for Quellery's database (jdbc:sqlite:... or jdbc:postgresql://...) |
DATABASE_USERNAME | No | — | Database username (PostgreSQL only) |
DATABASE_PASSWORD | No | — | Database password (PostgreSQL only) |
ENCRYPTION_KEY | Yes | — | Key for AES-256-GCM encryption of stored database credentials |
SESSION_SECRET | Yes | — | Signs session tokens |
SESSION_EXPIRY_HOURS | No | 24 | Login session duration (hours) |
PROMOTE_ADMIN_EMAIL | No | — | Promote an existing user to admin on startup |
QUELLERY_SNAPSHOT_THRESHOLD | No | 0 (disabled) | Number of events before snapshotting state to speed up startup |
QUELLERY_SECURE_COOKIES | No | true | Sets the Secure attribute on the session cookie and emits a Strict-Transport-Security header on every response. Leave at the default for any deployment terminating TLS at or before Quellery. Set to false only for local HTTP development. |
QUELLERY_API_ENABLED | No | false | Set to true to enable the read-only HTTP API at /api/v1/*. Available on Personal, Team, and Enterprise editions; Trial editions can read /api-docs.html but cannot call the API. |
QUELLERY_METRICS_BIND_ADDRESS | No | 127.0.0.1 | Bind address for the internal observability listener exposing /internal/live, /internal/ready, /internal/metrics, and /internal/version. Override only when running inside a compose network where the metrics scraper needs to reach the listener from another container — the server logs a WARN at startup when you do, so the override is visible in the operator log. |
QUELLERY_METRICS_BIND_PORT | No | 8081 | Port for the internal observability listener. |
Quellery's HTTP API at /api/v1/* is read-only and off by default. Turn it on by setting QUELLERY_API_ENABLED=true and restarting; the API is available on Personal, Team, and Enterprise editions.
API keys are minted in the GUI, not via the API. Log in as an administrator, open Admin → API Keys, click Create, and copy the quellery_… secret from the reveal panel — it's shown once. Then open the Groups tab, create or pick a group with the grants the key should have (for read-only access, ModelSee(Global) and SchemaSee(Global) are usually enough), open its Members panel, flip the Users / API Keys toggle to API Keys, and add the key. The key can then call the API as Authorization: Bearer quellery_… with the access the group grants it.
The full route reference, with request and response schemas for every endpoint, is at /api-docs.html inside your Quellery instance.
Quellery also exposes a WebSocket at /ws, used internally by the browser app. It is not a supported external interface — integrations should call /api/v1/* and stay on the documented contract.
Quellery supports SQLite and PostgreSQL for its own persistence. When using SQLite, it stores its database at the path specified in DATABASE_URL. The Docker compose file mounts a local quellery-data directory to /data in the container so your data persists across restarts and is easily accessible on your host filesystem. To use PostgreSQL instead, set DATABASE_URL to a PostgreSQL JDBC URL with DATABASE_USERNAME and DATABASE_PASSWORD.
Whenever Quellery starts with no users in its database, it generates a one-time setup token and prints it to the operator log under a banner reading FIRST-RUN SETUP TOKEN. The setup page (/setup.html) requires this token before the first OpsAdmin account can be created. This closes the race where an attacker who reaches the bound port first could otherwise claim OpsAdmin. The token is regenerated on every restart while no users exist; the first successful setup consumes it and the token is gone for the lifetime of the instance.
Find the token by searching your log for FIRST-RUN SETUP TOKEN (or check the container's stdout):
docker compose logs quellery | grep -A 4 "FIRST-RUN SETUP TOKEN"If all admin accounts are locked out, set PROMOTE_ADMIN_EMAIL to an existing user's email. On the next startup that user will be promoted to administrator. Remove the variable afterwards.
Quellery writes two log files to ./logs/ (override with the LOG_DIR environment variable):
quellery.log — application log. Rotated daily, retained 7 days, capped at 350MB total.quellery-security.log — security log. Records authentication and authorisation outcomes, session lifecycle, step-up token issuance, rate-limit lockouts, schema reattachments, first-run setup invocations, and licence verification failures. Rotated daily and retained 30 days.Pull the latest image and restart:
docker compose pull
docker compose up -d
Your data is preserved in the quellery-data directory.
Now that Quellery is running, open http://localhost:8080 in your browser.
On first launch you'll see a welcome screen. Enter a display name, email address, and password (minimum 8 characters). This becomes the first administrator account — more users can be added later.
After logging in you see the main dashboard. Use the dropdowns along the top to select a database, schema, and model. The left panel lists tables, types, and queries for the selected schema.
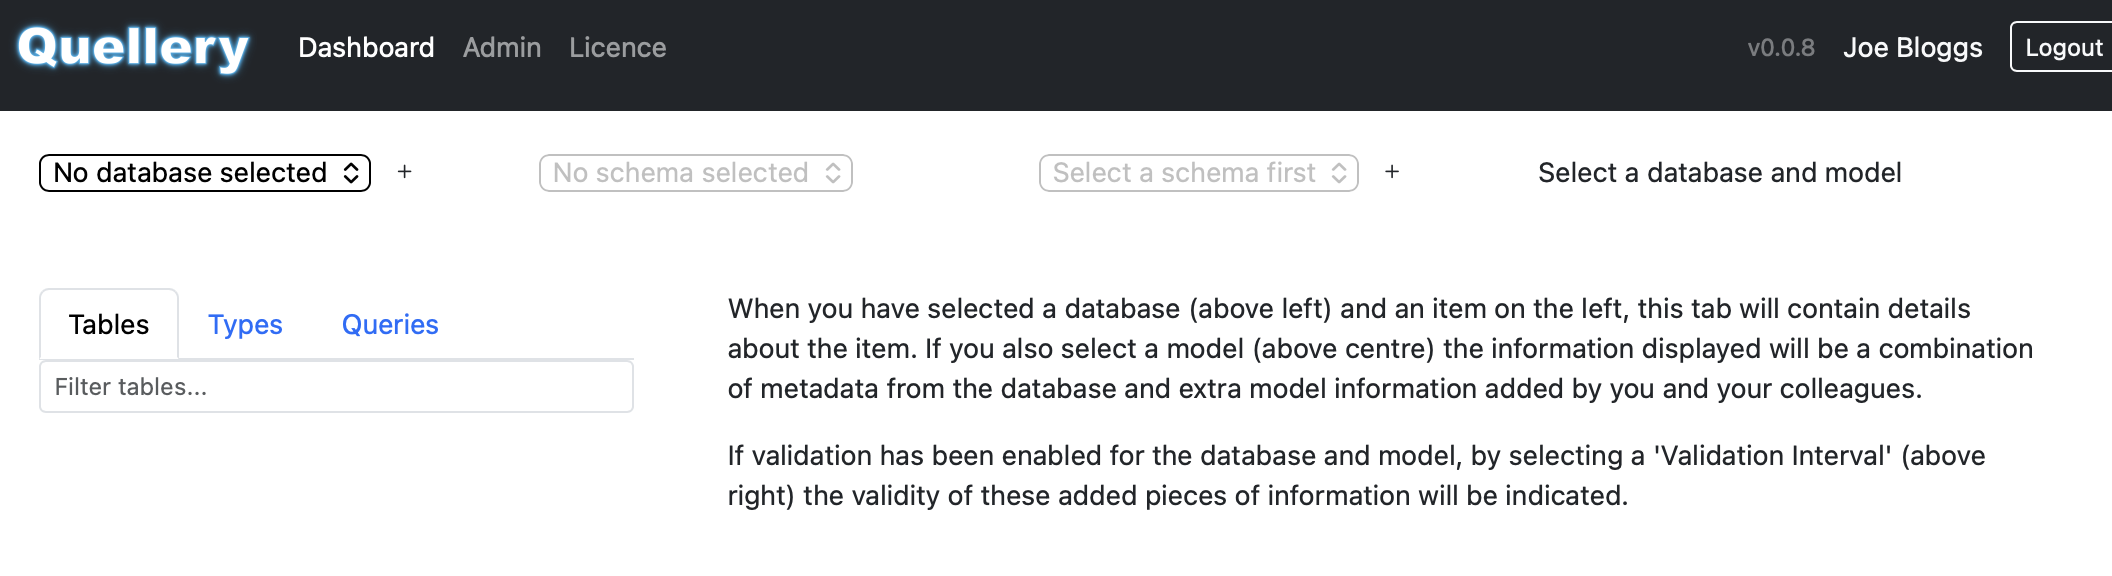
On the dashboard, find the Database dropdown at the top of the screen. Next to it, click the + (create) icon button to open the Create / Edit Database dialog.
The sections below walk through every field, grouped the same way they appear in the dialog.
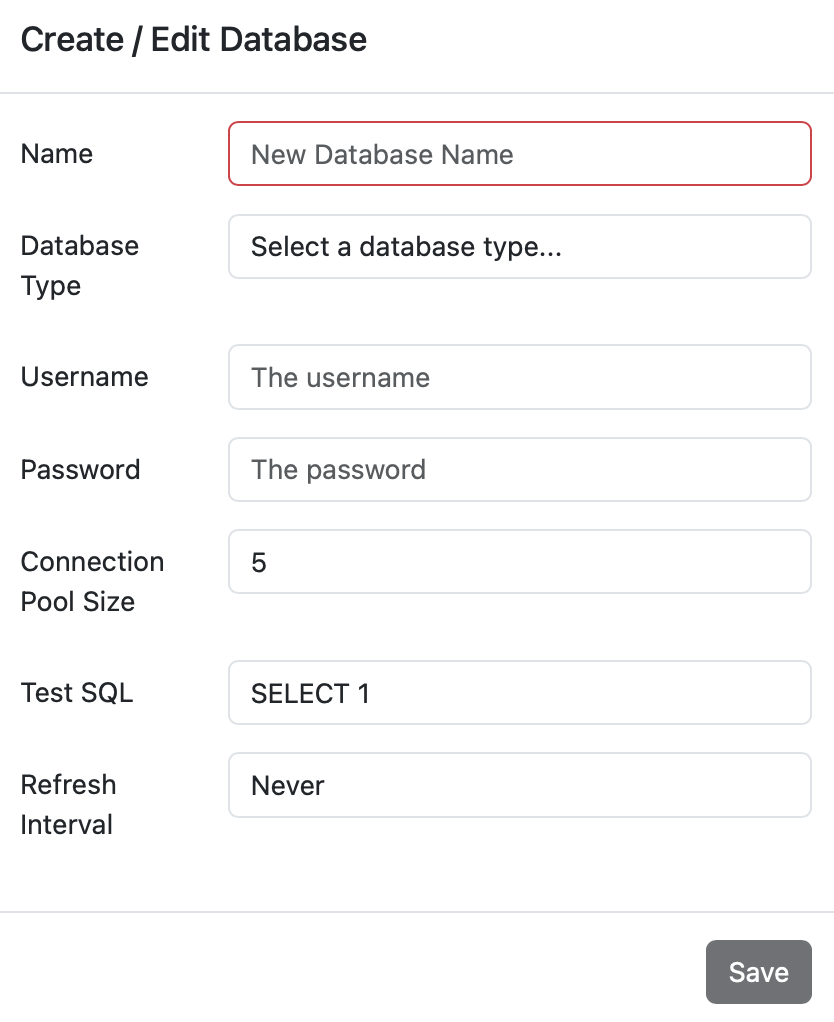
The fields in the dialog change depending on the database type you pick, so fill them in roughly in the order given below.
Name is free text — whatever you want to call this connection in Quellery (for example Production PostgreSQL or Local dev).
Database Type is a dropdown of PostgreSQL, MySQL, and H2. Only the drivers Quellery can find on the classpath at startup appear in the list. PostgreSQL and H2 are bundled with Quellery; MySQL is not — see Connecting to MySQL below for how to add the MySQL JDBC driver.
For PostgreSQL and MySQL:
5432 for PostgreSQL and 3306 for MySQL. Override only if your server listens somewhere else.For H2:
Username — the database user Quellery should connect as. For read-only introspection, a read-only role is ideal.
Password Type controls how the password is supplied:
ENCRYPTION_KEY) before storing it. Simplest option; fine for development.PROD_DB_PASSWORD). Quellery reads the value from that variable on the server at connect time. The password itself is never written to Quellery's database. Best for production — rotate the password by changing the env var and restarting the container.10 is a reasonable default for most workloads.SELECT 1 works for every supported database and is pre-filled.Click Save. The new connection appears in the Database dropdown at the top of the dashboard. Select it, and the Schema dropdown next to it populates once Quellery has read the schema. From there you can pick a schema and start working.
If something is wrong (wrong host, bad credentials, driver not installed), you'll see an error message. Click the edit (pencil) icon next to the Database dropdown to reopen the dialog and adjust the fields.
What you put in the Host field depends on where the target database is running relative to Quellery.
If your database runs on the host machine and Quellery runs in a Docker container on that same machine, use host.docker.internal as the hostname. This is Docker's special name for reaching the host from inside a container. localhost will not work — it would refer to the container itself.
Use the hostname or IP address of the remote machine directly (e.g. db.example.com or 10.0.0.42), just as any other client would. Make sure the relevant port is reachable from wherever Quellery is running.
Put the database container on the same Docker network as Quellery, then use the container name as the hostname. For example, if your compose file defines a postgres service alongside Quellery, use postgres as the host.
Quellery does not bundle the MySQL JDBC driver (Connector/J). MySQL Connector/J is licensed under GPL 2.0 with a FOSS exception that does not extend to proprietary software like Quellery, so we cannot redistribute it. Adding it yourself takes about a minute.
Download the Platform Independent ZIP or TAR archive from dev.mysql.com/downloads/connector/j and extract mysql-connector-j-<version>.jar from it. Any Connector/J 8.x or 9.x release is fine; we test against the latest 9.x.
Mount the driver JAR into the container at /app/drivers/ and tell Java to include that directory on the classpath. The simplest way is to add a volume and override the entrypoint in your docker-compose.yml:
services:
  quellery:
    image: lancewalton/quellery:latest
    ports:
      - "8080:8080"
    volumes:
      - ./quellery-data:/data
      - ./drivers:/app/drivers:ro
    environment:
      - DATABASE_URL=jdbc:sqlite:/data/quellery.sqlite
      - ENCRYPTION_KEY=change-me-to-a-secure-key
      - SESSION_SECRET=change-me-to-a-session-secret
    entrypoint:
      - java
      - -Dlogback.configurationFile=logback-console.xml
      - -cp
      - /app/quellery.jar:/app/drivers/*
      - quellery.server.Server
Place the downloaded JAR into a drivers/ directory next to the compose file, then docker compose up -d. MySQL will appear in the database type dropdown the next time Quellery starts.
If you run Quellery directly from the fat JAR, add the driver to the classpath with -cp and run the main class explicitly:
DATABASE_URL=jdbc:sqlite:./quellery.sqlite \
ENCRYPTION_KEY=change-me-to-a-secure-key \
SESSION_SECRET=change-me-to-a-session-secret \
java -cp quellery.jar:mysql-connector-j-9.6.0.jar \
  quellery.server.Server
On Windows, replace the : classpath separator with ;.
With a database connected, here are a few first things to do. Every screen has a Help button (the question-mark icon) that explains the current tab in detail — reach for it whenever a term or control is unfamiliar.
Use the Model dropdown at the top of the dashboard to create one. A model is your conceptual overlay on the physical schema — where you record what the database should guarantee, independent of what it currently declares. Nothing you do in a model changes the target database until you generate a migration script.
Pick a table and open the Columns, Keys & Indexes, Relationships, Functional Dependencies, or Null Cohorts tab. Each has an Infer button that scans the live data and proposes model elements — NOT NULL columns, candidate keys, foreign keys, FDs, and null cohorts — which Quellery then continuously validates.
Once you have some verified model elements, open the Migration tab on a table (or at schema level). Quellery generates an SQL script to make the database enforce what your model asserts — NOT NULL constraints, unique indexes, foreign keys, CHECK constraints, and null-cohort table extractions.